

Ever Wanted to Create Something Like This?
There’s a quiet joy in making a small, perfect thing by hand — a little companion you stitch with care and give as a gift, keep on a shelf, or tuck into a basket of knitted blankets. If you’ve ever wanted a project that feels cozy to hold, looks clever on a mantel, and can be finished in focused, calm sessions, this Crochet Boxer pattern is made for you. It’s the kind of project that turns yarn into personality.
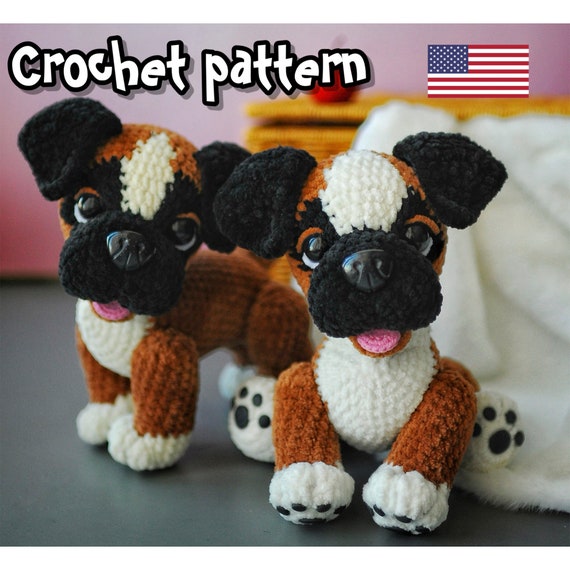
What You’ll Create
Using this pattern you’ll make a stuffed boxer dog amigurumi about 7.9 x 7.1 in (20 x 18 cm) when you follow the recommended materials. The finished toy has soft plush texture, sculpted paws and muzzle, movable joints for expressive poses, and a tiny tongue detail for extra charm. It’s cuddly but sturdy enough to display or give as a handmade gift. Picture a warm, handmade boxer perched on a bedside table or sent as a thoughtful present that arrives with real handmade love.
Why This Pattern
This pattern strikes a balance between clear structure and creative control. Instead of vague instructions, you get a full 29-page PDF with over 40 close-up photos that walk you through each shaping step, plus 10 video links for visual clarification on tricky moments. It’s an intermediate-level design: detailed enough to guide you, but leaving room for your personal finishing touches (color choices, paw pads, small accessories).
You’ll also appreciate practical details: recommended yarns and hooks for consistent sizing, exact eye and nose sizes, and guidance on joints and stuffing to achieve that neat, sculpted look. The designer allows you to sell finished toys (pattern for personal use only), so it’s perfect if you make handmade gifts or a few items to sell locally or online.
Who It’s For
This pattern is ideal for makers who already know basic amigurumi and toy construction — you should be comfortable with single crochet in rounds, increases/decreases, sewing parts, and basic stuffing techniques. It’s great for slow-living crafters who enjoy deliberate projects, hobbyists looking for the next pleasing challenge, and anyone who makes handmade gifts for family and friends. It’s not a beginner lesson, so if you need step-by-step crochet basics, you’ll want to pair this with a basic amigurumi tutorial first.
What You Get
Digital PDF (29 pages): step-by-step instructions formatted for clarity so you can work at your own pace.
40+ close-up photos: clear visuals that show shaping, seams, and assembly so small steps don’t get confusing.
10 video links: click the highlighted links in the PDF to jump to short demonstrations for tricky techniques.
Recommended materials and tools: plush yarn (Himalaya Dolphin Baby), YarnArt Jeans for tongue, 3.5 mm and 2.5 mm hooks, safety eyes (18 mm), safety nose (26×21 mm), plastic joints (30 mm paws, 40 mm head), stuffing, stitch marker, tapestry needle, optional glue and polymer clay for paw pads.
Final size & gauge notes: about 7.9 x 7.1 in (20 x 18 cm) with the suggested materials — your gauge may vary, and the pattern explains that.
Skill level: Intermediate — pattern assumes toy-crocheting experience and does not include basic crochet lessons.
Price & delivery: Instant download for 9.70 USD. The pattern is available in English and is ready to download from your Etsy order once payment is confirmed.
License & use: Pattern is for personal use only. Resale, redistribution, or sharing of the PDF is not allowed; you may sell finished toys made from the pattern.
How to Start
Buying and starting is simple: purchase the PDF on Etsy and you’ll see the download link in your order details immediately after payment is confirmed. Open the file on your tablet or print it out — many makers like to have the photos and video links handy while they crochet.
Gather the recommended materials first (the pattern lists exact yarn colors, eye and nose sizes, joint sizes and hook recommendations). If you prefer different yarn, expect the finished size to change and adjust your stuffing and tension accordingly. Use the videos for any steps that feel fiddly; the close-up photos plus video links were created to remove guesswork from tricky assembly and sculpting.
If you plan to sell finished toys, keep the license note in mind and respect the designer’s terms. And if anything goes wrong with the download, the seller asks you to contact them directly — they’re available to help troubleshoot.
👉 Explore more cozy DIY patterns at https://threadtutorial.etsy.com