

Ever Wanted to Create Something Like This?
Imagine curling up with a slow-crafting evening, your favorite tea, and a tiny, soft otter growing stitch by stitch on your lap. That feeling of making something tactile, adorable, and lasting—that’s what this Crochet Otter pattern delivers. It’s not just a toy; it’s a cozy keepsake you made with your own hands, perfect for gifting or adding warmth to a nursery.
What You’ll Create
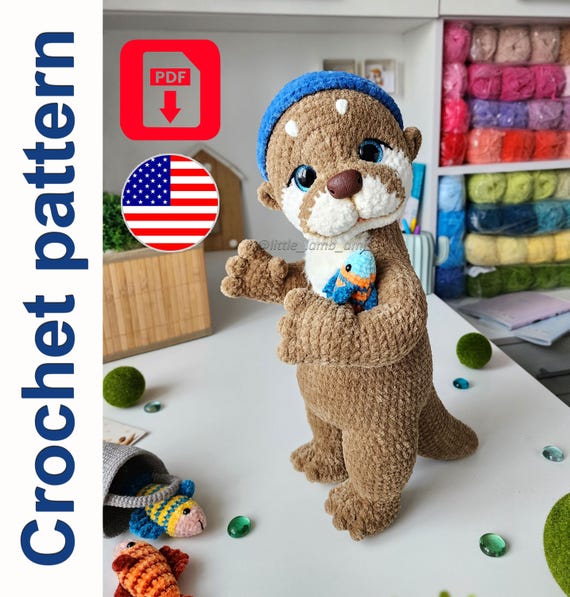
You’ll crochet a plush baby otter about 13–14 inches (33–35 cm) tall made from plush and velour yarns for a super-soft finish. The design features sparkling 18 mm eyes, a round nose (you can use polymer clay), a movable head attached with a cotter pin joint for expressive poses, and arms, legs, and tail crocheted into the body for durability. Optional accessories include a tiny fish and a bucket to give the otter personality and play value.
Why This Pattern
This pattern stands out because it balances charm with sturdy construction. The cotter pin joint gives the head natural movement—not floppy, but poseable—so your otter can look right at you from a shelf or cuddle in a crib. The instructions include high-quality photos and QR-coded video tutorials for tricky parts, so you can see exactly how shaping and assembly work. It’s designed for a plush finish that looks and feels professional while staying approachable.
Who It’s For
This pattern is best suited to intermediate crocheters familiar with amigurumi basics—single crochet in the round, increases/decreases, and basic assembly. That said, if you’re an adventurous beginner who enjoys learning from pictures and videos, the included tutorials will help you step up. It’s ideal for slow-crafters who savor detail, makers who love gifting thoughtful handmade items, and parents or makers creating nursery decor with a handmade touch.
What You Get
• Digital PDF pattern with clear written instructions tailored to an intermediate skill level.
• High-quality process photos showing key shaping, assembly, and finishing steps.
• QR-coded video tutorials that demonstrate the most complex parts—like attaching the cotter pin joint and sculpting the muzzle.
• Guidance on recommended yarns, hook sizes (3.5 mm, 2.5 mm, 2 mm), and a full materials list so you can shop with confidence.
• Notes on substitutions and how they affect size/texture, plus safety reminders for toys intended for small children (e.g., eye placement and use of safety eyes).
How to Start
This is a digital product you’ll download immediately after purchase on Etsy. The process is simple: buy the pattern, download the PDF to your device, and open it in a PDF viewer. Before you begin, gather your materials—plush/velour yarns, the recommended hooks, stuffing, safety eyes, and the cotter pin if you want the moveable head. The pattern lists substitutes, so you can use yarns you already love. Plan for a few relaxed evenings or a weekend project; many makers complete the otter in several focused sessions.
Start with the body to get comfortable with the plush yarn texture, then follow the step-by-step photos for muzzle shaping and eye placement. Use the QR videos for assembly—watching someone demonstrate the cotter pin joint or sculpting the nose is often all you need to feel confident. If you prefer, swap colors to match your nursery palette or make several small variations as gifts.
Practical tips: use a smaller hook for dense stuffing, shape the muzzle with dry pastels and a brush for subtle toning, and choose safe fastenings if the toy is intended for very young children. The pattern’s construction—arms, legs, and tail crocheted into the body—means the finished toy is durable and child-ready when finished correctly.
👉 Explore more cozy DIY patterns at https://threadtutorial.etsy.com